快速搭建Windows平台DNS防污染工具Pcap_DNSProxy
最近看了很多的DNS防污染工具(包括:dnsforwarder、dnscrypt-proxy、SimpleDNSCrypt等),看来看去还是感觉这个Pcap_DNSProxy简单、快捷、有效
GitHub地址:
https://github.com/chengr28/Pcap_DNSProxy(不用看了,作者已经把项目删除了)
https://github.com/AstroProfundis/pcap_dnsproxy (项目备份)
https://github.com/Lyoko-Jeremie/Pcap_DNSProxy_release(根据自己的平台从这下载编译好的程序文件)
安装步骤:
环境:Windows Server 2003 R2
- 根据自己的平台从这下载编译好的程序文件:https://github.com/Lyoko-Jeremie/Pcap_DNSProxy_release,这里以Pcap_DNSProxy-v0.3.2-x86-bin.Windows这个文件为例。
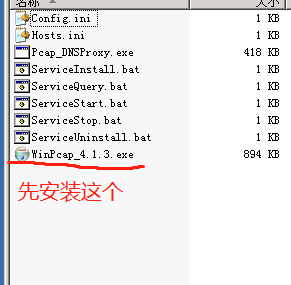
- 解压文件,会看到以下内容,先安装Winpcap。

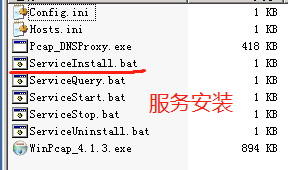
- 安装服务,这样即使机器重启也能用。

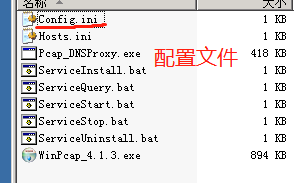
- 成功安装服务后,自己可以先去设置config.ini

配置文件的话改的不多,模板如下:
[Base]
Version = 0.3
Print Error = 1
Hosts = 10
IPv4 DNS Address = 8.8.4.4
IPv4 Local DNS Address = 223.6.6.6
IPv6 DNS Address =
IPv6 Local DNS Address =
Operation Mode = Server
Protocol = TCP

[Extend Test]
IPv4 TTL = 0
IPv6 Hop Limits = 0
Hop Limits/TTL Fluctuation = 2
IPv4 Options Filter = 1
ICMP Test = 900
ICMP ID =
ICMP Sequence =
TCP Options Filter = 1
DNS Options Filter = 1
Blacklist Filter = 1

[Data]
Domain Test =
Domain Test ID =
Domain Test Speed = 900
ICMP PaddingData =
Localhost Server Name =
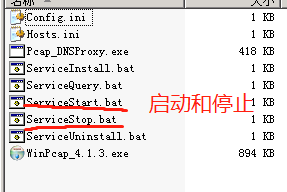
- 一切就绪后,启动服务

测试:将你的PC以及其他设备的DNS设置为已搭建好的Pcap_DNSProxy服务器地址,一般来说将你家中的路由器DNS设置为Pcap_DNSProxy服务器地址即可,这样家中连的设备都可以用上,这里的Windows Server 2003 R2是内网的服务器(若要防DNS污染内网服务搭建是最好的),防火墙一定要开放相应的端口。完成后可自行用nslookup工具测试,或者访问一下被污染的域名,如:https://www.ssrshare.com/
若没有问题,则搭建完毕。